
Adventures in sourdough:The Virgin Loaf & The #2

Looking for a bread recipe was quite honestly exhausting. Hydration levels, open or closed crumb, room temperature or fridge proofing... Aaah. I had no idea what anyone was talking about, or what any of these things meant. And so... I did what any other millenial would do, and I went to YouTube to look for a tutorial 🙈
The first ones I found were supposedly "simple sourdough" recipes, and yet they threw around words like levain and autolyse and it really put me off... And then - like a ray of sunshine on a cloudy day - an easy to follow, simple sounding recipe. I dove straight in.
Attempt 1: The Virgin Loaf
This was my first sourdough ever. It had to be simple, so I could follow along, and it couldn't be too long a video because my attention span is zero, especially when I'm excited to just get stuck in.
I watched this video - a short and snappy how-to, made better by a tasty looking Domhnall Gleeson-type baker.
- 800g strong white flour
- 10g salt
- 460ml water
- 320g sourdough starter (Bernie's chance to shine!)
I added in all my ingredients - although I actually used 75% white wheat flour, and 25% rye. Firstly, because I ran out of white flour 🤷, and secondly, because when I knit I don't swatch for gauge, so why would baking be any different?
A note - here in Norway, there isn't any strong bread flour. I used plain flour, with a protein (gluten) content of 11.2%, so slightly higher than plain flours in the UK (which come in at 8-10% gluten). It did the trick for me, but in the long run I may purchase vital wheat gluten to add to the flour for that extra stretch.

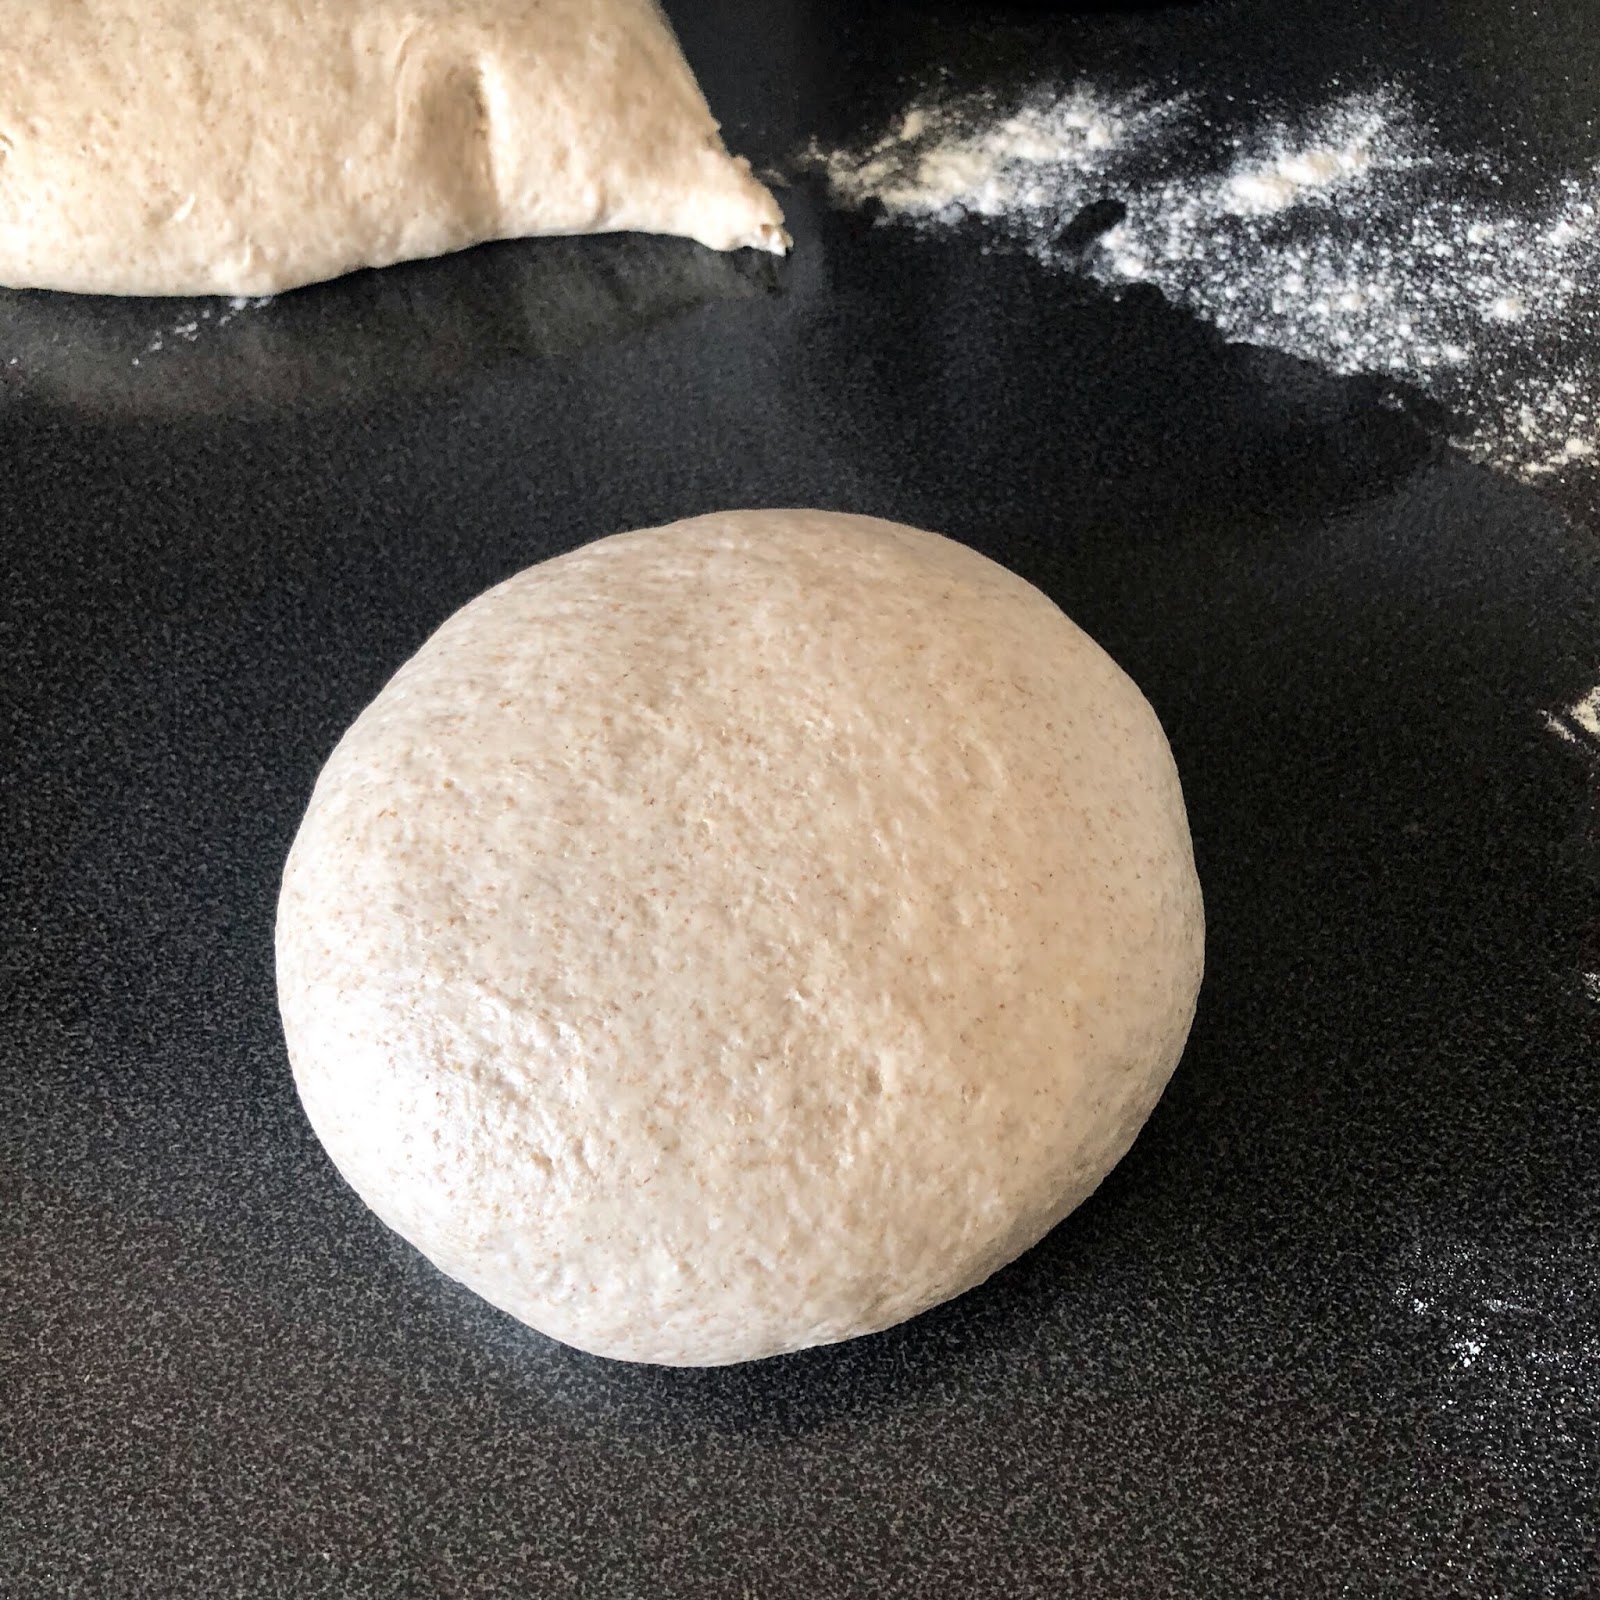
This dough was quite labour intensive at the start - there was a solid half hour of kneading. The recipe only says 10 minutes, but with the naturally lower gluten content of the rye bread, and the lower percentage of gluten in the plain white flour, I'd kind of set myself up for a lot of work. The dough was so, so sticky, though I managed to get to the windowpane effect not long after this photo.

I placed it in a slightly oiled bowl, and left it to hang out for 3-4 hours to prove.

Once that was done, I shaped into little boules, and placed into the bannetons (little cane baskets) for proving. Traditional sourdough is a much wetter and looser dough than regular yeasted bread, and so you have to prove it inside a vessel of some sort, otherwise it will just grow into a big ole pancake.

The loaves went into the fridge overnight, ready to be baked in the morning.
Most people will bake their sourdough in a Dutch oven, to get the bread to steam itself for the first 10-15 minutes of baking. I've seen Dutch oven prices in the UK and in Spain... so I dread to think what they're like in Norway. I baked on a regular baking tray, with another deep tray at the bottom of the oven with some water poured in (check the YouTube video recipe to see what I mean).
And here was the result!


For a first bread, these were dang delicious! We passed some to our upstairs neighbour who agreed 👌
Easy to follow recipe: ⚫⚫⚫⚫◯
Energy required: ⚫⚫⚫⚫◯
Dough difficulty: ⚫⚫◯◯◯
Taste: ⚫⚫⚫⚫◯
Airiness: ⚫⚫◯◯◯
Crust: ⚫⚫⚫⚫⚫
Adaptability: ⚫⚫⚫⚫◯
The recipe was easy to follow - the video tutorial was really helpful and I knew what to look for in the various stages of kneading and proving. There's also a great explanation of how starters work and how to maintain them. Although it took a lot of kneading - so maybe not the best bread for people with limited mobility or someone who's a bit tired and under the weather that day - the dough was smooth and silky to work with and shape at the end. The baked bread had that slight tang, and the crust was unbelievably crispy. We wolfed down half a loaf for breakfast that same day (clearly, I threw caution to the wind about letting it cool for at least 3 hours). I can imagine it would be easy to add seeds or change the flour proportions (especially as I'd already deviated from the recipe, and got a fairly nice loaf out of it). One thing I was missing was the "open crumb", the big air bubble holes that are characteristic of a sourdough loaf. And so, I went in search of a different recipe, one that would bring me closer to an open crumb...
Attempt 2: The #2 💩
Ayyyyyy. This did not go well.
I used this recipe - it's long and detailed, but definitely worth the read.
- 700g bread flour
- 20g salt
- 200g starter
- 525g water
I mixed the ingredients to form a rough dough, and left to autolyse. You can see the difference in dough smoothness between the first and second picture!


Instead of then kneading the dough, this recipe called for stretch-and-fold, where you take one end of the dough, pull it up and over the bread, and tuck it across the other side. You repeat this across all quarters, and each time the dough gets smoother and more elastic.

I let it prove in the bowl, but rather than do the bulk prove in the fridge overnight, I decided to let it prove a little longer in the bowl and then do the final prove overnight in the fridge. Maybe it was my deviation from the recipe that led to my eventual downfall, maybe it was the fact that there wasn't enough gluten in the flour to hold up a wetter structure. I'll never know. But once it had gone into the bannetons overnight (which looks great in the picture, for sure), disaster struck.


It got stuck in the bannetons, and by the time I'd managed to scrape it out, all the air had been knocked out and it was a sticky puddle of chewing gum. Straight to the bin, do not pass go, do not collect £200. Ouch.
Easy to follow recipe: ⚫⚫⚫⚫⚫
Energy required: ⚫⚫◯◯◯
Dough difficulty: ⚫⚫⚫⚫⚫
Taste: 🤷💩
Airiness: 🤷💩
Crust: 🤷💩
Adaptability: 🤷💩
You'll notice that my ratings are uh, a little different for this bread. The recipe itself is great. There are a ton of tips and tricks, and the recipe comes with step-by-step photos to guide you through the process. Although the stretch-and-fold technique was simple and low-energy, I found the dough so hard to work with, that I wasn't able to shape it properly and instead of having a nice high tension skin, it went into the bannetons sticky and gloopy.
I'm clearly too inexperienced to work with high hydration sticky doughs at the moment, so although I'm sure this recipe would be beautiful for a more experienced baker, I won't be returning to it until I've got a better understanding and feel for the bread, something that only comes with time and practice.
They key takeaway from all this, was that I need a stiff and workable dough, but one that will result in a light and airy crumb. And so, I went looking for a third recipe which turned out perfectly. More about that in the next post :)

0 comments